As a game developer with a long history of unfinished projects, I’m thrilled to share the journey of creating “One Bullet Ship,” my most finished game to date. Recently released in early access on itch.io, this arcade-style shooter signifies a culmination of my experiences and a focused approach to game design. Let me take you through the thought process, development challenges, and design decisions that brought this game to life.
The Genesis of One Bullet Ship
Finding Focus in Simplicity
After years of working on complex prototypes ranging from 2.5D platformers to online RPGs, I realized that my tendency to over-scope was holding me back. With “One Bullet Ship,” I decided to embrace simplicity. The core concept was straightforward: create a game that’s easy to understand but hard to master, where player skill truly matters.
The One-Bullet Mechanic
The defining feature of the game – having only one active bullet at a time – emerged from this philosophy. Players use arrow keys to fire in four directions, but once a bullet is fired, they can’t shoot again until it leaves the screen. This simple constraint creates a deep, engaging gameplay loop where every shot matters.
Design Philosophy
Player Responsibility
One of my primary goals was to make players feel responsible for their mistakes. The one-bullet mechanic achieves this beautifully. When players miss a critical shot or fire in the wrong direction, there’s a palpable “DOH!” moment. Testers consistently reported feeling that their failures were their own, not the result of unfair game design.
The “One More Round” Factor
I wanted “One Bullet Ship” to be addictive in the best way possible. The upgrade system plays a crucial role here. Every action in the game earns currency, which can be spent between rounds on upgrades like increased bullet damage or power-up frequency. This creates a compelling loop of play, earn, upgrade, and repeat.
Respecting Player Time
With most playthroughs lasting 1-3 minutes, the game is perfect for quick sessions. But, I didn’t want returning players to feel like they were always starting from scratch. The Score Multiplier System and Wave System work together to guarantee that upgraded players can quickly reach challenging levels while still having the opportunity to earn high scores.
Development Insights
Unity: A Long-Time Companion
As a Danish developer, I’ve had a special connection with Unity since its early days as a Mac-only program. When it finally came to Windows in 2009, I jumped at the chance to use it. Over the years, I’ve seen Unity evolve, and it’s been my go-to engine for many prototypes and experiments.
Overcoming the Completion Hurdle
“One Bullet Ship” represents a significant milestone for me – a game that made it past the prototype stage. By setting a clear, limited scope and focusing on core gameplay rather than expansive features, I managed to push through to completion.
The Player Experience
Achieving Flow
Perhaps the most rewarding feedback I’ve received is that players often enter a zen-like state of flow while playing. The intuitive controls, coupled with the constant decision-making required by the one-bullet mechanic, create a deeply engaging experience.
Audio Enhancement
I was fortunate to license music from a friend at Scarlet Moon Productions, which adds another layer of polish and immersion to the game.
Looking Ahead
With “One Bullet Ship” now in early access, I’m excited to gather more player feedback and continue refining the experience. This project has taught me valuable lessons about scope, design focus, and the power of simple yet deep mechanics.
Remember, every shot counts, every play earns upgrades, and hopefully, you’ll find yourself in that satisfying flow state that makes “just one more round” irresistible. Give it a try and let me know what you think!
Whether you’re a teacher or in any other profession, a smooth transition is pivotal. Let’s dive into a few strategies to make this transition smoother.
Connect with Colleagues: A simple chat can help share feelings and gain insights.
Team Meetings: If possible, schedule a casual gathering before work officially kicks off. It breaks the ice and eases everyone into the work groove.
Embrace Change and Overcome Challenges:
Stay Updated: Familiarize yourself with any changes that occurred during your absence.
Challenges: Whether it’s catching up on missed work or adjusting to new protocols, identify potential hurdles. Create a game plan to tackle each challenge efficiently.
In Conclusion: Transitioning back to work post-holiday requires a blend of mental, physical, and emotional readiness. By incorporating these strategies, not only will you overcome initial hurdles, but you’ll also find yourself thriving in your professional space. Remember, every end is a new beginning. Embrace the journey, and here’s to a seamless return to work!
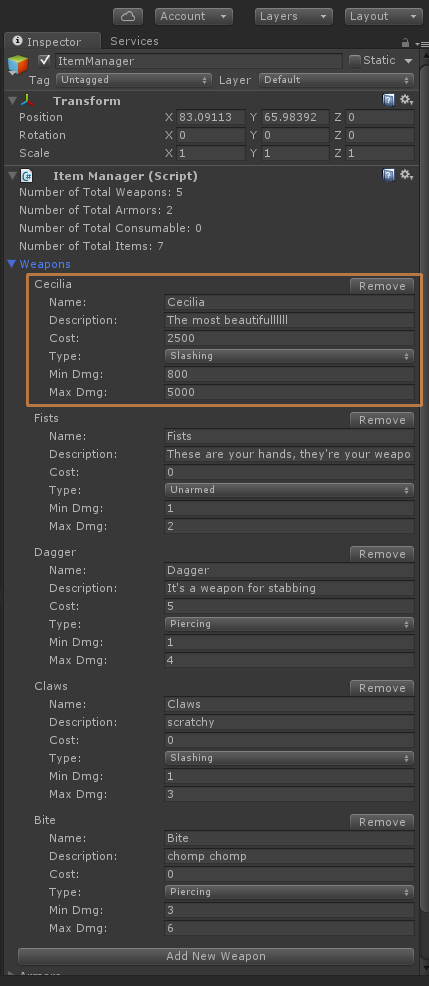
11 simple and easy tricks for Unity3d 2d game development.
Are you looking for ways to improve your 2D games in Unity3D? Check out these useful tricks for optimizing performance, creating compelling visuals, and enhancing gameplay
1. Use the Sprite Packer to improve performance by packing multiple sprites into a single texture atlas.
The Sprite Packer can improve the performance of your 2D game by reducing the number of draw calls required to render the sprites, which can help improve the frame rate of your game. To use the Sprite Packer, first select the sprites you want to include in the atlas by either selecting them in the Project window or in the Scene view. Then, go to “Edit > Pack Sprites” or right-click the selected sprites and choose “Pack Sprites” from the context menu. This will create a new sprite atlas asset in your project that contains all the selected sprites. You can then use this atlas in your game by assigning it to a Sprite Renderer component as the “Sprite” field.
2. Use Sorting Layers and Order in Layer to control the rendering order of sprites.
Sorting Layers and Order in Layer are particularly useful when you have sprites that overlap and you want to ensure that they are drawn in the correct order. For example, you might want to ensure that a character sprite is always drawn in front of the background. To use Sorting Layers and Order in Layer, first create a new Sorting Layer by going to “Edit > Project Settings > Tags and Layers” and adding a new layer in the “Sorting Layers” list. Then, select the Sprite Renderer component of the game object you want to change the rendering order of, and set the “Sorting Layer” field to the layer you just created. You can then use the “Order in Layer” field to specify the rendering order within that layer, with lower values being rendered first.
3. Use Sprite Masks to hide or reveal parts of sprites.
Sprite Masks are useful for creating a variety of visual effects, such as vignette effects around the edges of the screen or revealing parts of a sprite as it is collected by the player. To use Sprite Masks, first create a new Sprite Mask component by selecting “Component > Miscellaneous > Sprite Mask” in the menu or by right-clicking the component list in the Inspector and choosing “Sprite Mask” from the context menu. You can then assign a sprite to the “Mask Graphic” field to use as the mask. Any objects that are behind the mask will be hidden from view, while objects in front of the mask will be visible.
4. Use Sprite Animations to create simple animations by flipping through a series of sprites.
Sprite Animations are a quick and easy way to create simple animations such as character movement or object interactions. To use Sprite Animations, first create a new Animation Clip by going to “Asset > Create > Animation” in the menu or by right-clicking in the Project window and choosing “Create > Animation” from the context menu. Then, select the Sprite Renderer component of the game object you want to animate, and drag the Animation Clip asset onto the “Animation” field in the Inspector. You can then use the Animation window (Window > Animation) to create a series of keyframes that flip through different sprites to create the animation.
5. Use Physics Materials to control the physics properties of colliding objects, such as bounciness and friction.
Physics Materials are useful for creating realistic physical interactions, such as a ball bouncing off a surface or an object sliding along a floor. To use Physics Materials, first create a new Physics Material asset by going to “Asset > Create > Physics Material” in the menu or by right-clicking in the Project window and choosing “Create > Physics Material” from the context menu. Then, assign the Physics Material asset to the “Material” field of the Collider component on the game object you want to modify the physics properties of. You can then adjust the “Bounciness” and “Friction” properties of the Physics Material to control how it reacts to collisions.
6. Use Box Colliders and Polygon Colliders to define the shape of game objects and control how they interact with other objects in the scene.
Box Colliders and Polygon Colliders are used to define the shape of game objects and control how they interact with other objects in the scene. To use Box Colliders and Polygon Colliders, add a Collider component to the game object you want to define the shape of. Select either the “Box Collider 2D” or “Polygon Collider 2D” option from the “Type” dropdown to specify the type of collider you want to use. For Box Colliders, adjust the “Size” and “Offset” properties to control the shape. For Polygon Colliders, use the “Edit Polygon” button to manually specify the shape by clicking to add points.
7. Use Layer-Based Collision Detection to control which game objects can collide with each other.
Layer-Based Collision Detection allows you to control which game objects can collide with each other. To use Layer-Based Collision Detection, first create a new layer by going to “Edit > Project Settings > Tags and Layers” and adding a new layer in the “User Layers” list. Then, select the game objects you want to include in the layer and set the “Layer” field in the Inspector to the new layer. You can then use the “Layer Mask” field of the Collider component to specify which layers the collider should collide with.
8. Use Trigger Colliders to create events that are triggered when a game object enters or exits a collider.
Trigger Colliders are used to create events that are triggered when a game object enters or exits a collider. To use Trigger Colliders, add a Collider component to the game object you want to use as the trigger, and check the “Is Trigger” checkbox in the Inspector. You can then create a script that contains a function with the “OnTriggerEnter2D” or “OnTriggerExit2D” signature, and attach the script to the game object. This function will be called whenever another collider enters or exits the trigger collider.
9. Use Raycasts to detect objects in the scene and perform actions based on their presence or absence.
Raycasts are used to detect objects in the scene and perform actions based on their presence or absence. To use Raycasts, you can use the “Raycast” function of the “Physics2D” class, which returns a “RaycastHit2D” object containing information about the object that was hit by the ray. You can use this information to perform actions such as detecting when the player clicks on an object or when an enemy collides with a wall.
10. Use Particle Systems to create special effects such as explosions, smoke, and sparks.
Particle Systems are used to create special effects such as explosions, smoke, and sparks. To use Particle Systems, first create a new Particle System by going to “GameObject > Particle System” in the menu or by right-clicking in the Hierarchy and choosing “Particle System” from the context menu. You can then use the Inspector to customize the appearance and behavior of the Particle System, such as the type of particles, the emission rate, and the lifetime of the particles.
11. Use Tilemaps to quickly create levels using pre-made tiles, and use Tilemap Colliders to define the shape of your level and make it interact with other objects in the scene.
Tilemaps are used to quickly create levels using pre-made tiles. To use Tilemaps, create a new Tilemap by going to “GameObject > 2D Object > Tilemap” in the menu or by right-clicking in the Hierarchy and choosing “2D Object > Tilemap” from the context menu. Customize the properties of the Tilemap in the Inspector, such as the size of the tiles and the offset of the grid. Use the Tile Palette window (Window > 2D > Tile Palette) to create and paint tiles onto the Tilemap. To make the Tilemap interact with other objects in the scene, add a Tilemap Collider component to the Tilemap game object. This will create a collider for each tile in the Tilemap, allowing other colliders to interact with them.
By using these tricks, you can take advantage of powerful features such as the Sprite Packer, Sorting Layers, Sprite Masks, and more to elevate your 2D games to the next level. Whether you’re a beginner or an experienced developer, these tips and techniques can help you get the most out of Unity3D.
Hi all, its that time of the decade! Tastygraph makes a post!
I released a totally FREE game art pack. You can use it for whatever you want, be it a free project, or a commercial project, anything! Its yours to use 🙂
When you’re done using it, and your game is a massive hit (or not) then let me know! I would love to see what you come up with.
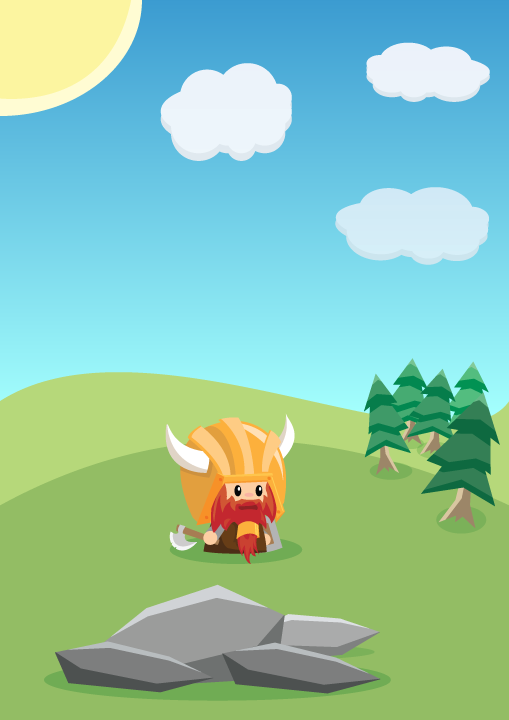
Programming a mobile rpg in unity3d (its actually just unity2d seeing as i am not using any 3d features… so lets just call it unity 😛 )
I took out the pokemon sprites as i prefer to keep my projects 100% legal, even if its just a prototype or early alpha build… So the updated version contains new enemy sprites… more representative of the final product 🙂
The plan is to make this game an android mobile game that you can play during a short break or whenever you feel like it. So it will not have Energy or other annoying timelimiting mechanics.
I do however plan on monetizing the game through voluntary ads where the player is rewarded for watching an ad and then in turn gains a buff or a bonus for X amount of rounds vs enemies , or just plain x amount of enemies fought 🙂
More updates coming in the near future. I havent made a video of it yet, but the game currently has different zones to battle enemies in, and a village where you will be able to buy/sell items at the blacksmith, heal up at the temple and respec/retrain at the Trainer 🙂
Tastygraph signing off! See you soon, thanks for reading 🙂
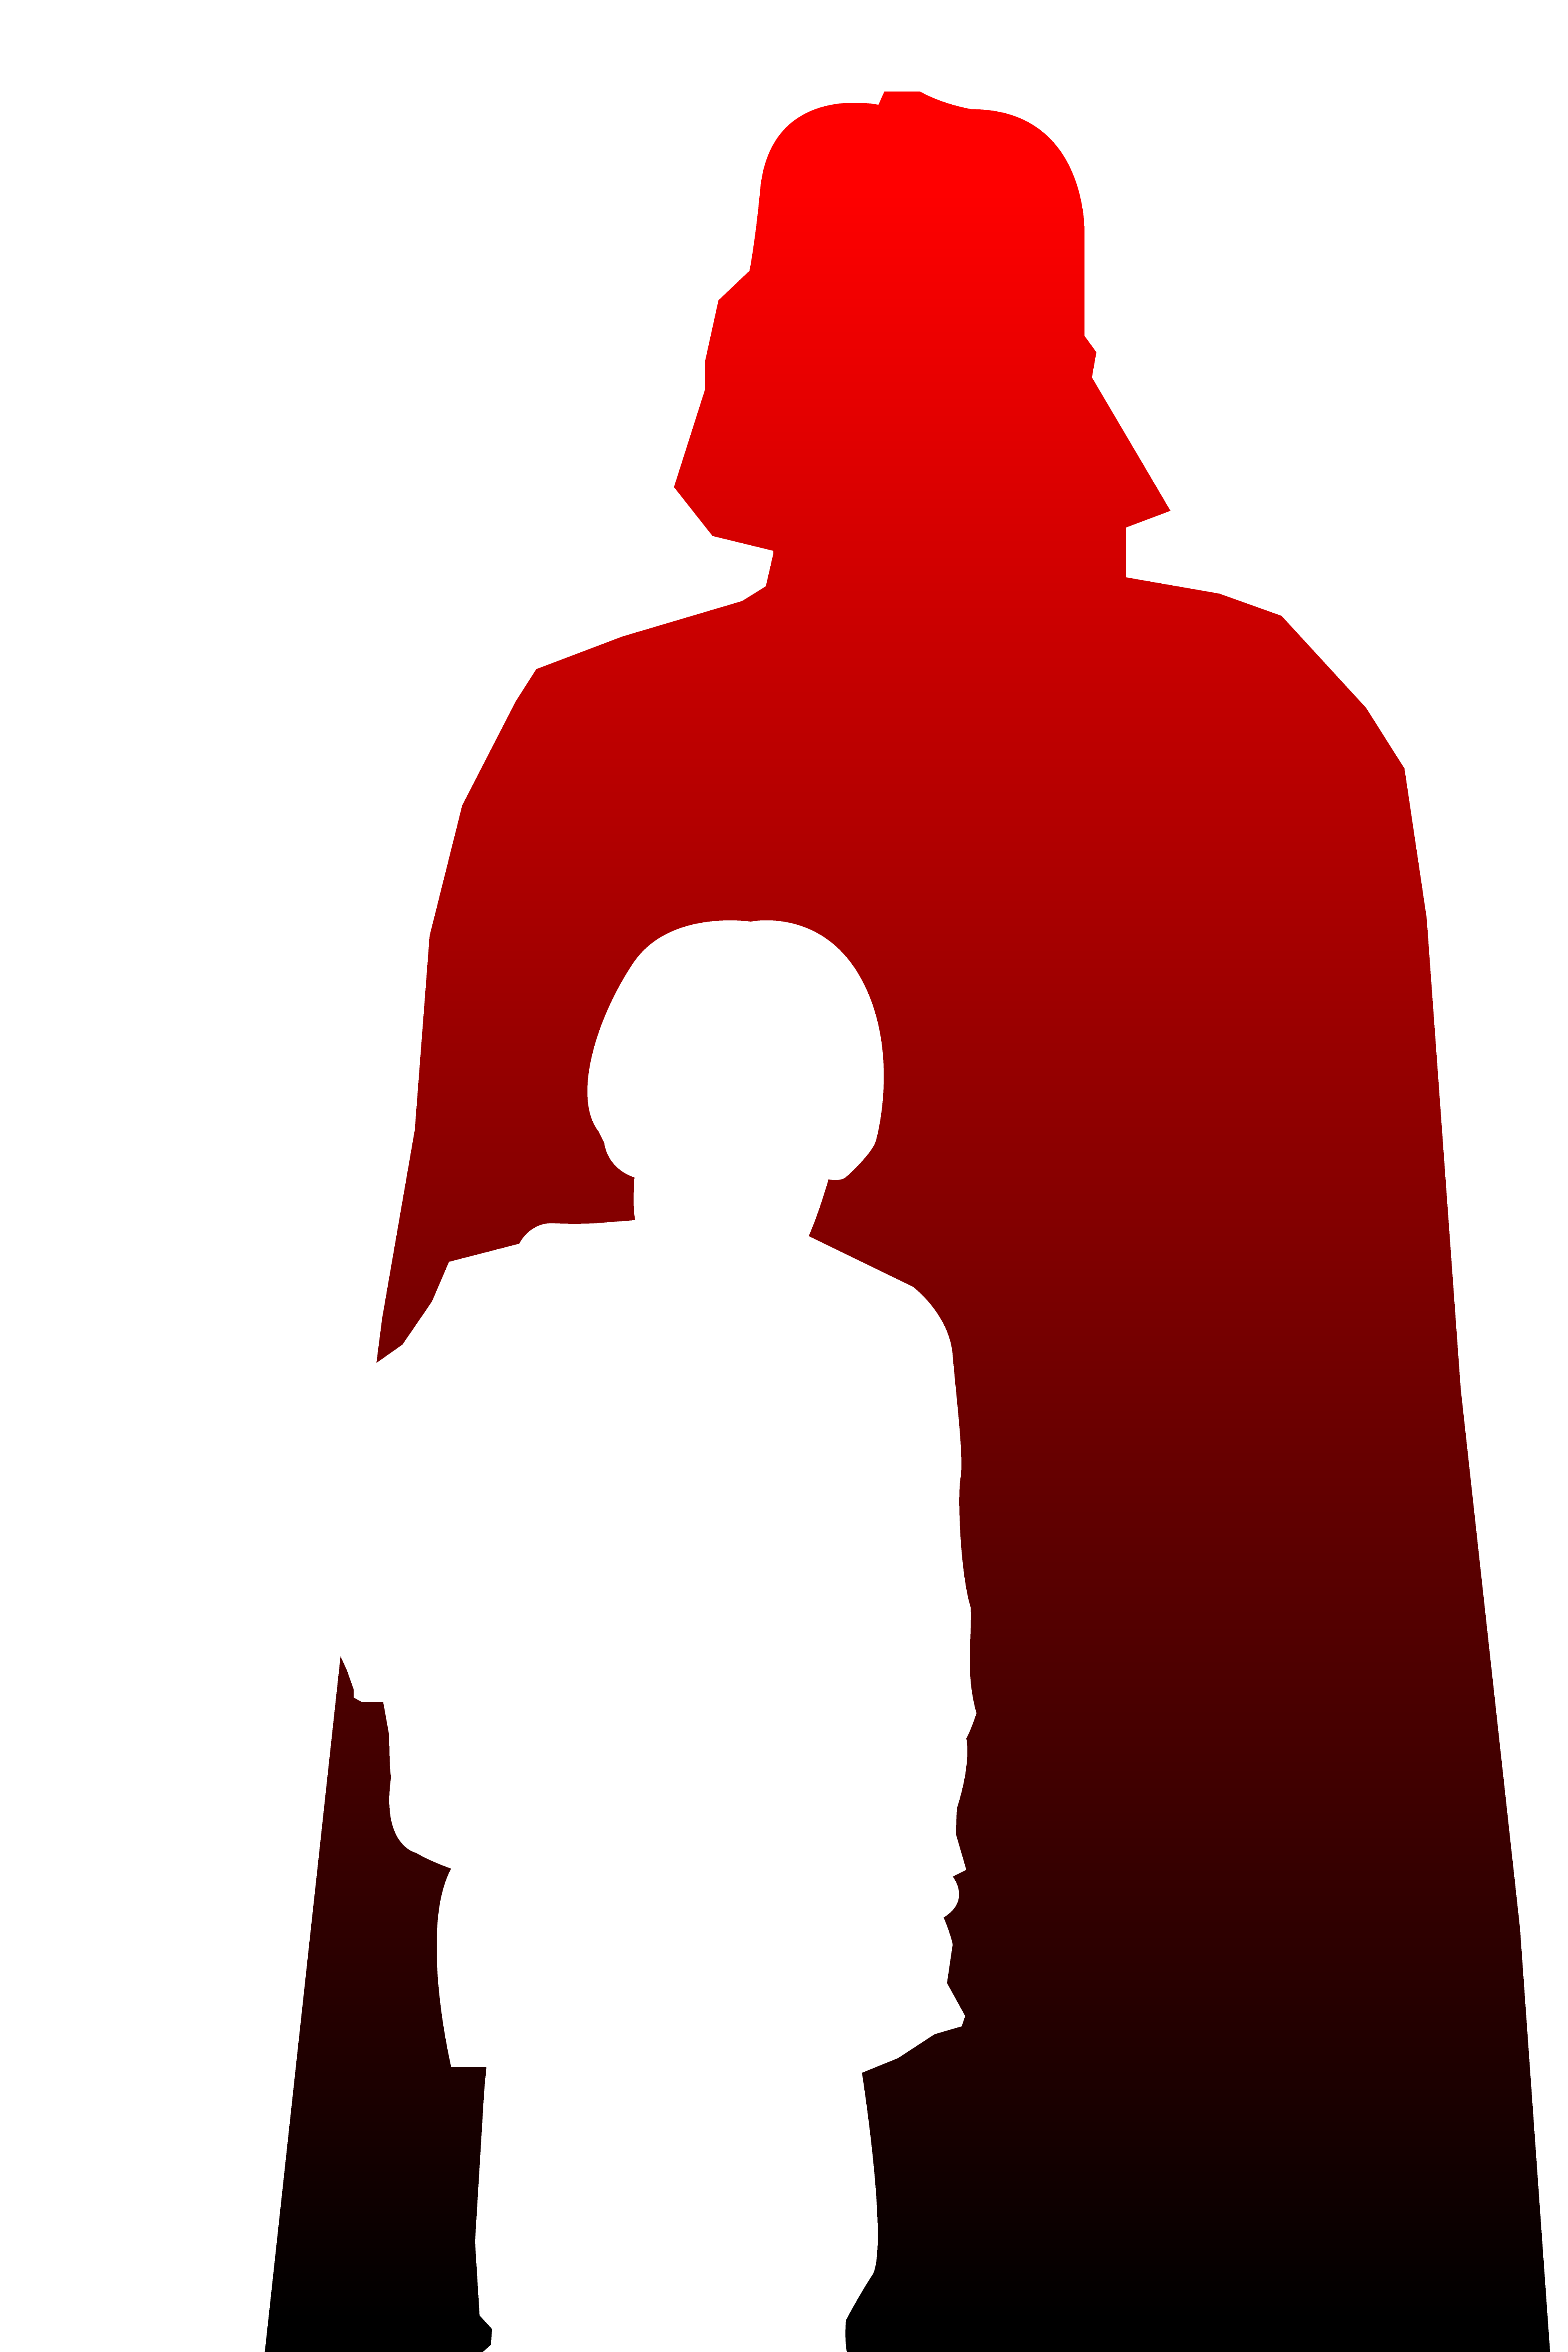
I love everything related to super heroes and fantasy, and it is a major influence to me whenever I sit down and do creative work.
Lately I’ve been inspired by the concept of dual sided characters… Like the Man in the doorway who was really a demon… and I have continued along that path with my recent practice sessions in Adobe Illustrator.
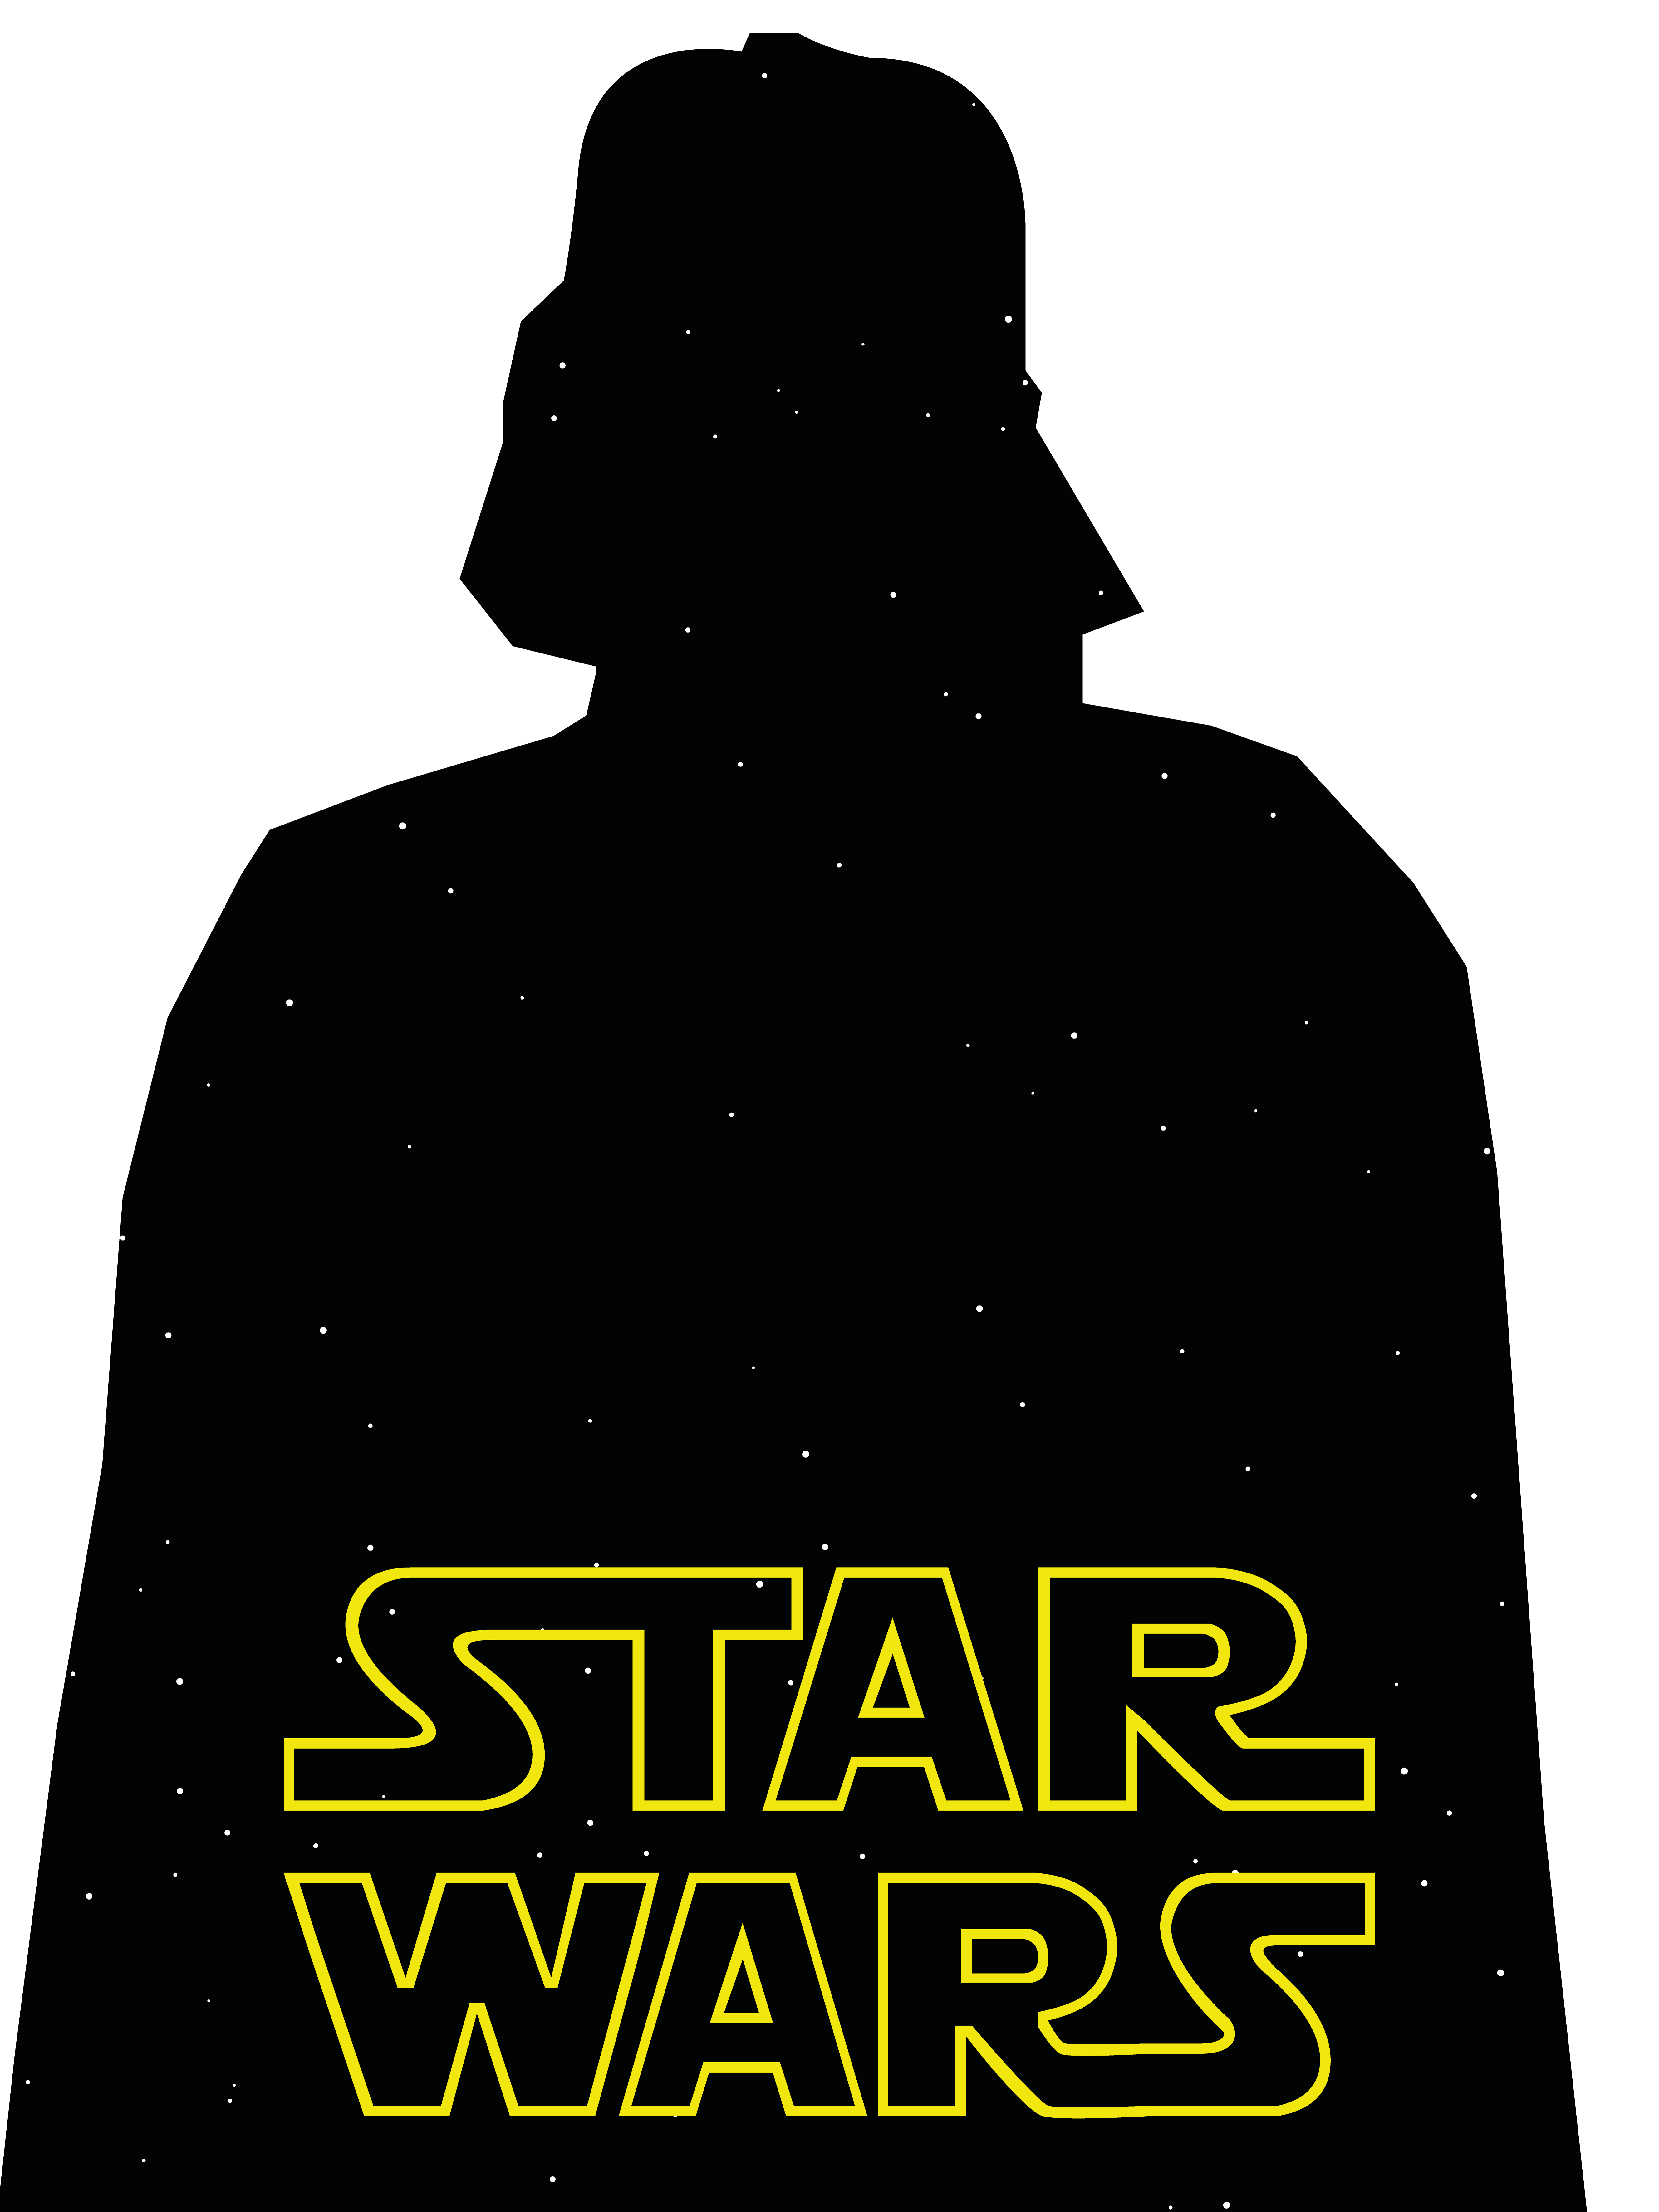
The following works are born from my passion and joy of reading comic books and watching films… Marvel and Star Wars will always have a special place in my heart. 🙂
Feel free to share these, or let me know in the comments if you recognize the characters 😉
I’m going to cut to the chase… Oh, and hello again 😉
First update, showing my progress with illustrator… the plan is to do a minimum of 3 updates pr week, showing my daily practice session with Adobe Illustrator.
The media is constantly bombarding me with horrible images of a dead man…
all while they are complaining about how little girls shouldnt be playing with a tattooed barbiegirl…
and companies are selling wartoys for kids…
It’s sickening and somewhat confusing.
Charlie Chaplin spoke the truth 70 odd years ago… that much I know!